
Low-Slope Skylight Cut-In and Installation
Project Overview
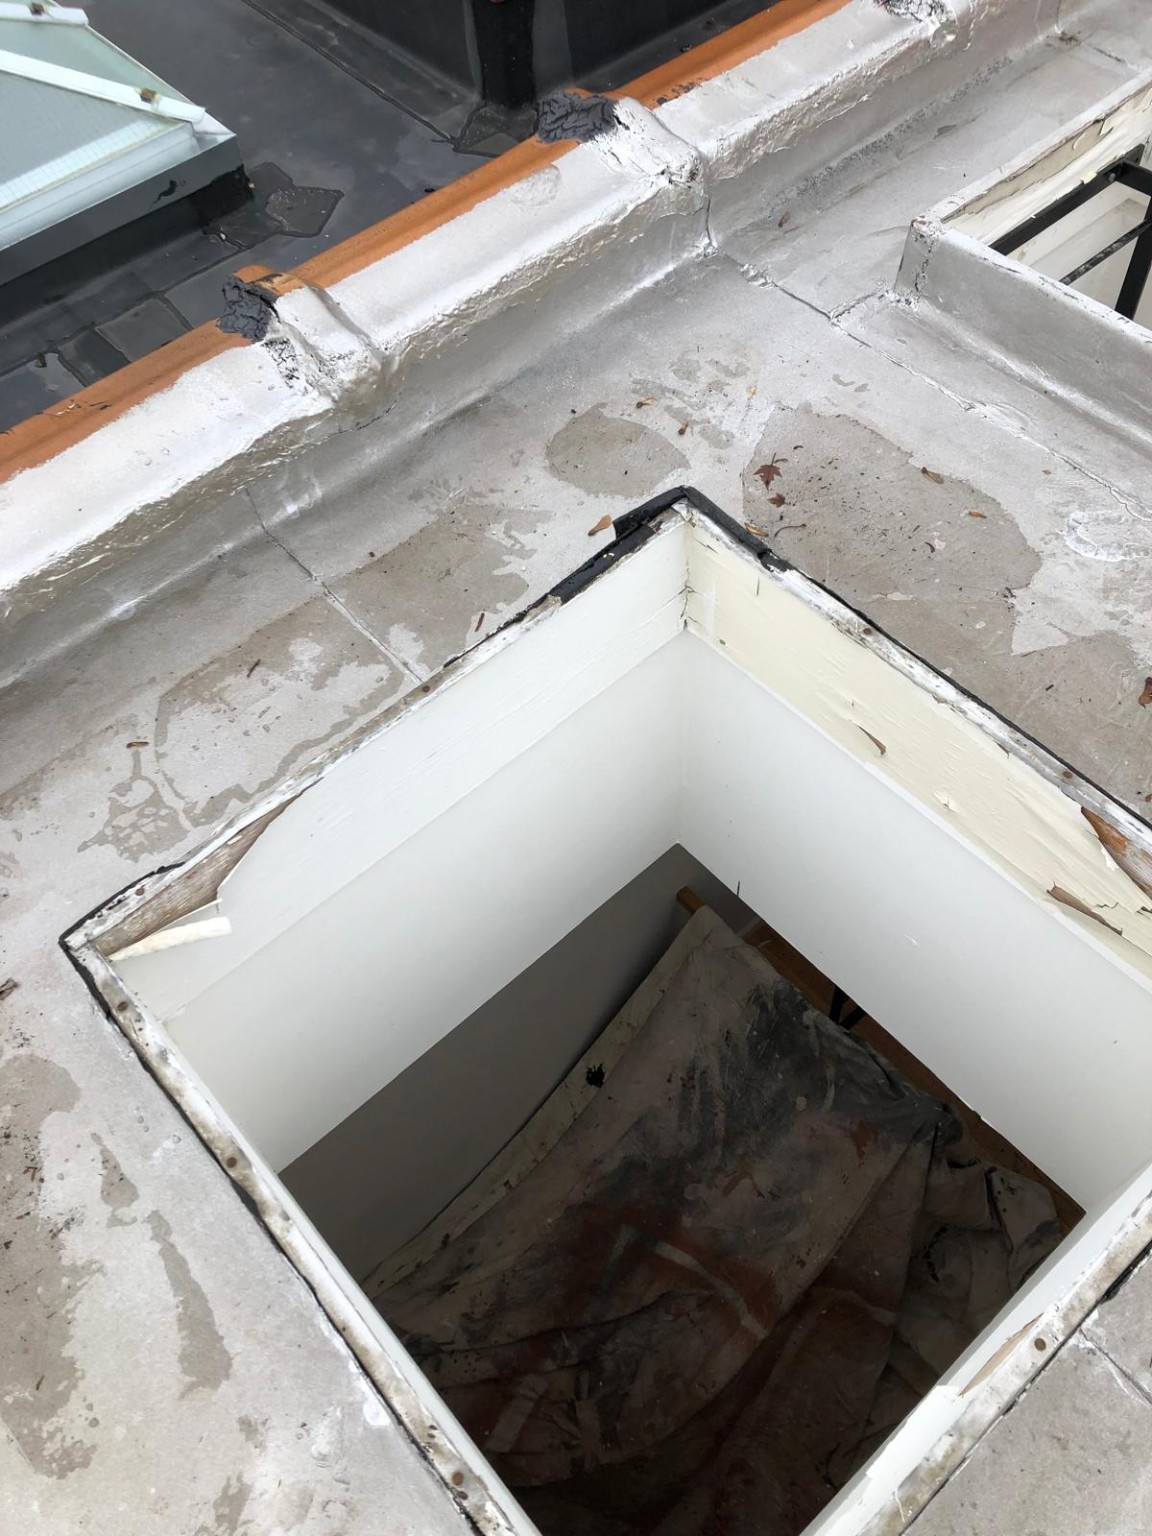
This project involved cutting a new overhead opening, constructing a skylight curb, and installing a pyramid-style skylight unit. The work included interior opening preparation, exterior weatherproofing integration, and sealing for long-term protection and natural light delivery.
Analysis
Installing a skylight on a low-slope exterior surface requires precise opening layout, proper curb construction, and reliable waterproofing to prevent leaks. The opening needed to be clean and square, with correct curb height to allow for flashing and membrane integration. Sealing details and transitions around the skylight were critical to the success of the installation.
Process
- Marked skylight location - Cut the overhead opening and removed materials - Prepared interior opening and shaft - Constructed and installed skylight curb - Set skylight unit and secured it in place - Applied flashing and waterproofing - Final inspection and cleanup
Outcome
The property now features a new skylight that brings natural light into the interior space while maintaining full building-envelope integrity. The installation is securely sealed and integrated into the exterior weatherproofing system for long-term performance and leak resistance.
Project Details
Materials Used
- Pyramid-style skylight unit - Skylight curb and framing materials - Weatherproof membrane and flashing materials - Sealants and waterproofing compounds - Fasteners and structural supports
Methods & Techniques
- Laid out skylight location and dimensions - Cut the overhead opening and prepared interior shaft - Built and secured skylight curb - Installed skylight unit and secured it to the curb - Integrated flashing and weatherproof membrane - Sealed all perimeter transitions
Key Highlights
- New overhead skylight opening - Skylight curb construction and installation - Pyramid-style skylight unit installed - Proper flashing and waterproofing applied - Increased natural light with secure exterior integration